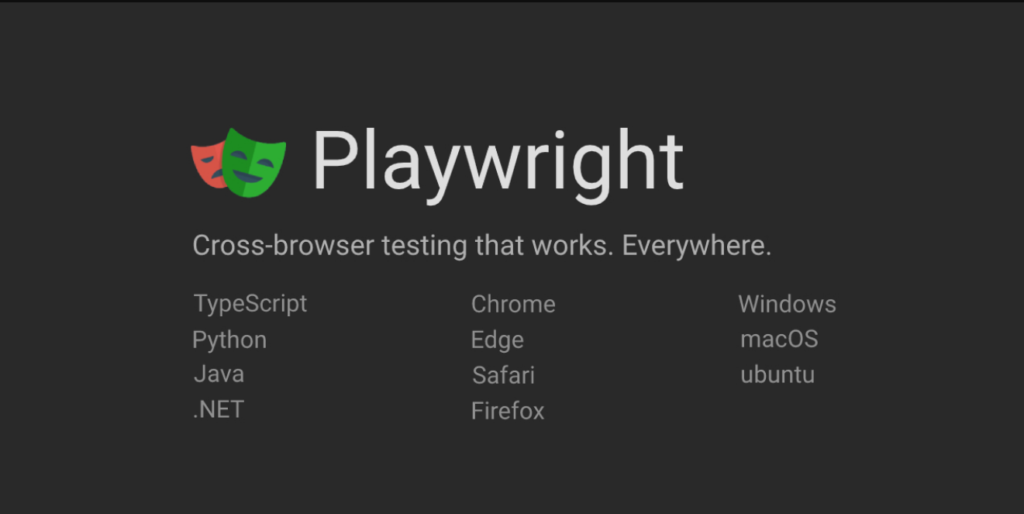
Hey there, tech enthusiast! If you’re in the business of building or testing web applications, you’ve probably heard about this cool tool called Playwright. But if you’re new to the game, don’t worry; we’re here to break it down for you.
In simple terms, Playwright is an open-source automation tool that lets you write scripts to control web browsers, interact with web pages, and validate how they work. It’s like having a robot assistant that can navigate websites and report back with valuable insights.
Why you should use playwright?
Besides achieving our targeted features, playwright also offers :
- Cross-Browser Magic :- Think of Playwright as a master of disguise. It can work seamlessly with three major browsers:- Chrome, Firefox, and WebKit (the engine behind Safari). No more cross-browser testing headaches – with Playwright, you can ensure your web app works smoothly on all of them.
- Speed and Reliability :- Playwright is like the “Flash” of the automation world (without the red suit). It’s incredibly fast and reliable, ensuring your tests and automations run smoothly and swiftly. Say goodbye to flaky tests and slow automation processes.
- Endless Automation Possibilities :- With Playwright, you’re not limited to just one task. You can automate a wide range of activities, from navigating websites and filling out forms to capturing screenshots and recording performance data.
- Headless Mode :- You can run Playwright in “headless” mode, which means it operates without a visible browser window. This is perfect for running your automations or tests in the background, saving resources and avoiding distractions.
Setting Up and Installing Playwright
Welcome to our step-by-step guide for setting up and installing Playwright, the powerful browser automation tool. Whether you’re a developer or a tester, Playwright can make your life easier. Let’s get started!
Step 1: Perquisites
You’ll need Node.js (version 14 or higher) installed on your system. If you don’t have it, download and install it from node.js
Step 2: Initiate Project
Create a New Project: Start by creating a new directory for your Playwright project. Open your terminal or command prompt and run: npm init playwright@latest
- Choose between TypeScript or JavaScript (default is TypeScript)
- Name of your Tests folder (default is tests or e2e if you already have a test’s folder in your project)
- Add a GitHub Actions workflow to easily run tests on CI
- Install Playwright browsers (default is true)
Step 3: Add dependency in existing project
Now, it’s time to install Playwright as a dependency in your project. Run: npm install playwright
Step 4: Select the Browsers
You can choose which browsers to install. By default, Playwright installs Chromium, Firefox, and WebKit (Safari). If you want to install a specific browser, run one of the following:
- For Chromium:
npm playwright.chromium - For Firefox:
npm playwright.firefox - For Safari:
npm playwright.webkit
Step 5: Example
import { test, expect } from '@playwright/test';

test('has title', async ({ page }) => {
  await page.goto('https://playwright.dev/');

  // Expect a title "to contain" a substring.
  await expect(page).toHaveTitle(/Playwright/);
});

test('get started link', async ({ page }) => {
  await page.goto('https://playwright.dev/');

  // Click the get started link.
  await page.getByRole('link', { name: 'Get started' }).click();

  // Expects page to have a heading with the name of Installation.
  await expect(page.getByRole('heading', { name: 'Installation' })).toBeVisible();
});
Step 6: Running Test
Running the Sample Test Script: npx playwright test
Step 7: Report
Show report of the test suite locally: npx playwright show-report
Feel free to customize and style these steps to match your website’s design and branding. Providing a clear and concise guide on setting up Playwright will be valuable to your website’s visitors who are looking to get started with this automation tool.


